
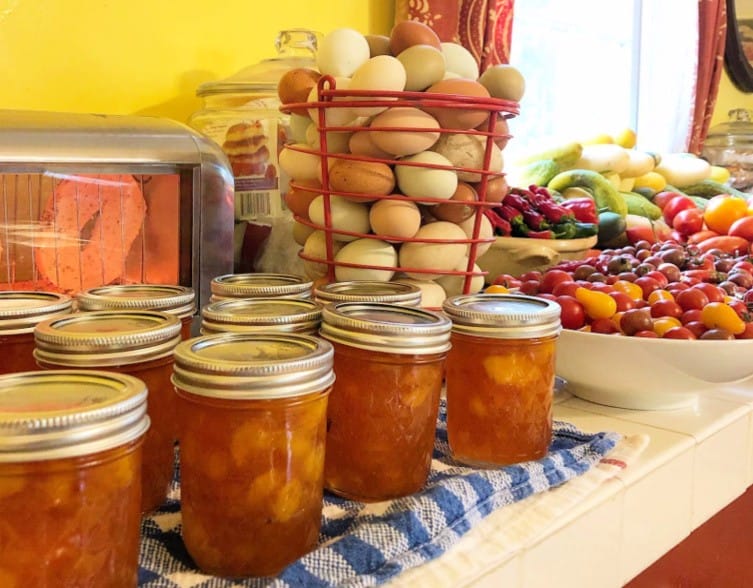
Canning season is one of my favorite seasons! I love making use of the bounty of my garden and having fresh fruits and vegetables even in the dead of winter. Honestly, canning is not that hard. Do it with me!
I have always canned. My mother canned, I canned, and when I was pregnant with the twins, I canned so many tomatoes with my mother-in-law that I couldn’t stand the smell of them the next year. But here I am back at it!
Many of my readers have asked me why I can. And the answer? I can because I can! It brings me joy! I know I spent the time seeding the plant, growing that plant, and harvesting that plant! And at the ripeness, I get to process it in a way that I can use all year long!
Another question I am often asked is what are the do’s and don’ts of canning? Today, I am sharing them with you.
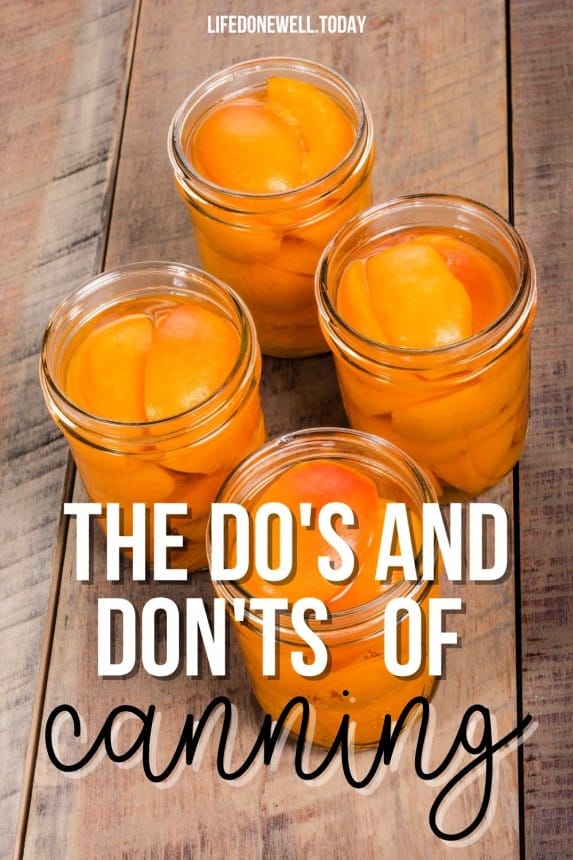
The Do’s and Don’ts of Canning Success
Canning Do’s
- Always can at the peak of ripeness.
- Canning is not an activity you do on a whim. Line all of your canning supplies up before you get started.
- Make sure you use the proper sized Mason Jars.
- Make sure your jars are in good shape. One of the great things I love about canning is that I reuse many of my jars year to year – I love a sustainable kitchen. But, yo need to look for any cracks or chips and replace as needed.
- Make sure you have ample time to can. You don’t want to be in a rush or on a time crunch. If you are like me, you enjoy canning so you want to savor the time!
- Be sure to leave a ¼ inch headspace at the top of the jar.
- Boil your lids for 10 minutes and keep them submerged in water until you are ready to use them.
- Make sure to follow a recipe exactly.
- Make a final inspection to ensure jars have been vacuum sealed. You should hear a pop within 24 hours of sealing. You can push down on the top of the lids as well to see if they are sealed.
- Label your jars with the contents and the date.
- Store your canned goods in a dry, cool place.
- Only can enough for about a year’s time, since that is how long food that has been canned can stay.
- Have fun and enjoy the process!
Canning Don’ts
- Don’t reuse your jar lids.
- Don’t use jars that aren’t meant for canning.
- Don’t use overly ripe or even under ripe produce.
- Don’t use produce that is blemished or bruised.
- Don’t can more than you can use in a year.
- Don’t can butter or milk.
- Don’t walk away from your canning area.
- Don’t tip the jars. Keep them straight up when you take them out of the water bath.
- Don’t retighten the rings when you remove them from the canner.
- Don’t pour hot water or liquids into a cool jar. Your jars will probably break if you do this!
- Don’t use a jar on your shelf that may smell funny, has mold, or wasn’t sealed properly.
- Don’t use cookbooks from your grandmother or from before 2009. Since canning is more of a science, things have changed and it is time to get updated!
- Don’t move jars that are cooling.
- Don’t cool jars in front of a fan or an air conditioning.
- Don’t forget to give your jars a quick wipe down. Use a slightly moist towel to clean them off from any drips or spills.
So, there you have it. Now, you can enjoy canning success!
What are you going to can first?
If you liked this article, you may like these:


I am a home cook that does things my way. In my kitchen, I make breakfast, pack lunches, prepare snacks, and cook dinner. During the week, we eat real food that is homemade, organic, and local. On the weekends we do explore more of our local restaurants. I bake my own bread, juice fresh oranges every other day, and make my own kombucha and other weekly favorites.